
Ingredients:
- 3/4 cup heavy whipping cream
- 1/2 cup whole milk
- 12 oz bittersweet baking chocolate, roughly chopped
- 1 large egg
- 1 large egg yolk

In a medium saucepan, bring heavy whipping cream and milk to a simmer. As soon as small bubbles begin to form, turn off the heat. Roughly chop the chocolate and add it to the simmered milk. Press down with a whisk and let sit for 4-5 minutes

Whisk the chocolate until fully combined

Next, you're going to temper the egg yolks. Add half a cup of the chocolate mixture to the eggs and whisk in a separate bowl. This incorporates the temperature of the eggs with that of the chocolate so the eggs don't "get surprised" and cook if you add them directly to warm chocolate. MAKE SURE you do this because you don't want to end up with scrambled eggs in your chocolate!
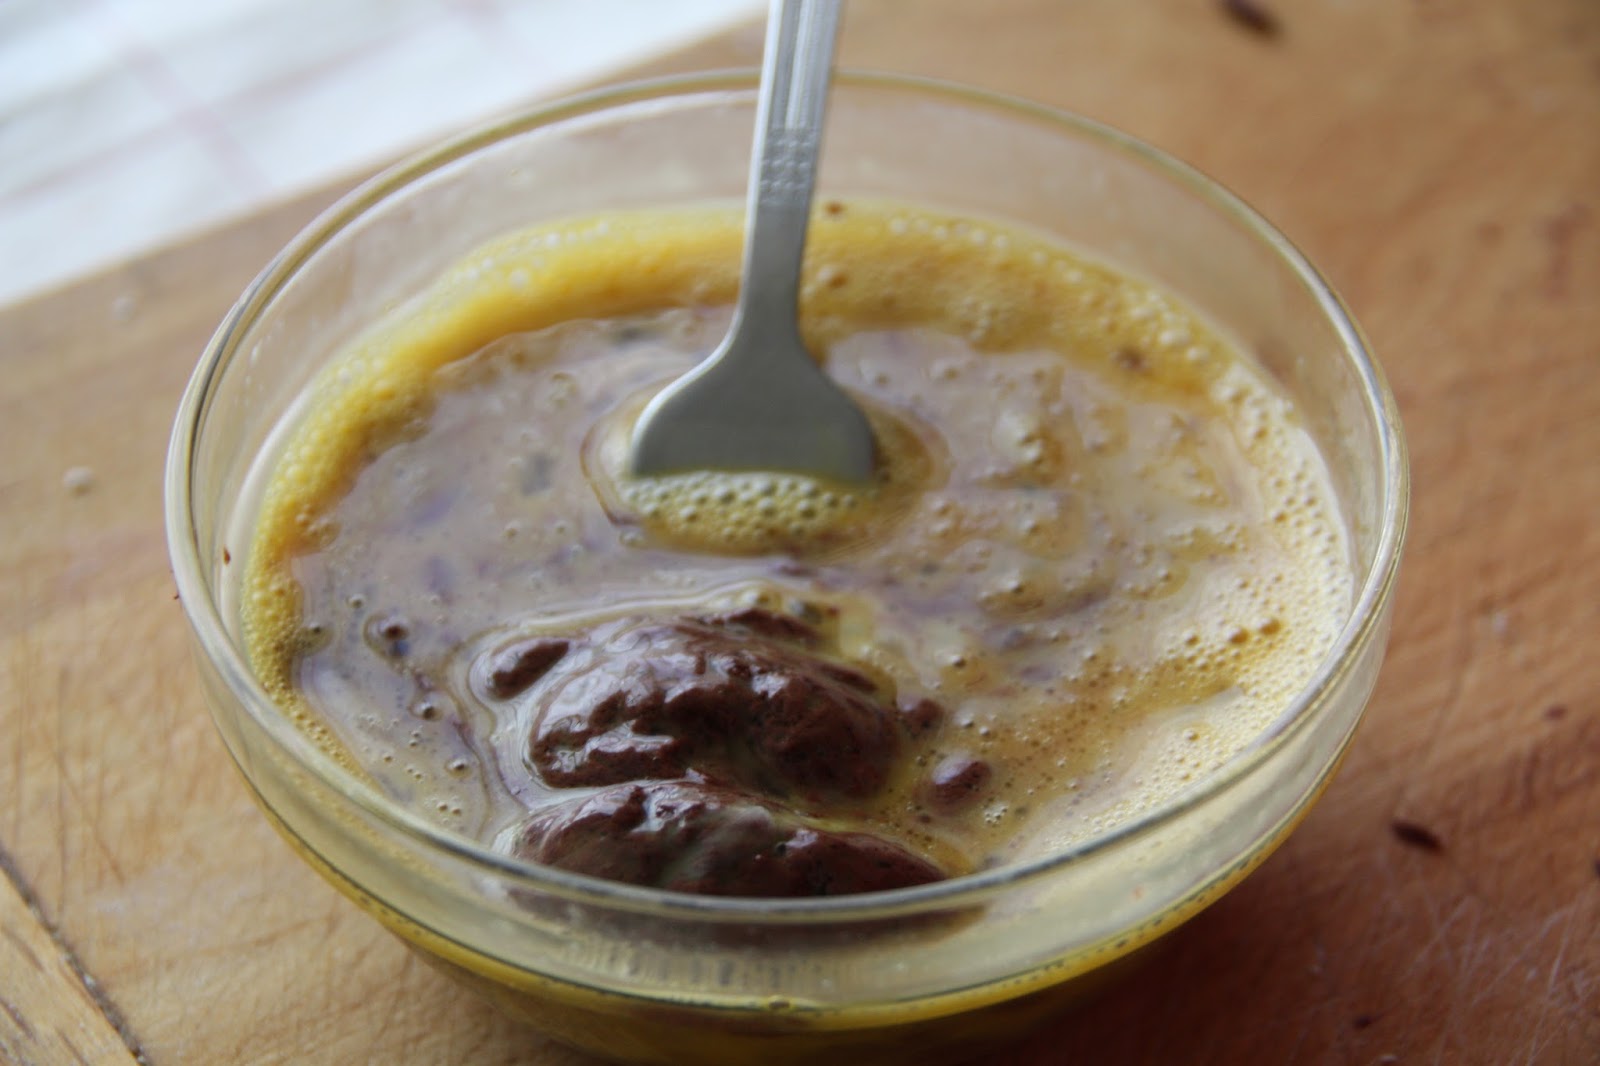
After mixing some chocolate with the eggs, add the entire thing back to the larger chocolate mixture and continue to whisk until smooth

This part is totally optional, but you can fill the bottom of the blind-baked crust with something yummy for added flavor. I chose strawberries but to be honest the rich flavor of the chocolate masked their taste. Maybe another layer of strawberries would've helped...

Pour the chocolate filling into the crust and bake for another 25-30 minutes or until the rim of the chocolate is solid but the center is still a little jiggly

Cool and refrigerate at least two hours before serving. Or if you have no self control (like myself), just let it cool for 15-20 minutes so you don't burn yourself! Just remember that the flavors are much more prominent when the tart is cold
Ta-da!

This part is also optional but it's so so incredibly delicious that you should definitely consider adding it. I HATE whipped cream but this is so good that I was eating it on its own.
Sorry for the lack of pictures here but it's super easy to make and I'll do my best to explain. Here are the ingredients:
- 1 cup heavy whipping cream
- 2 teaspoons vanilla bean paste (or vanilla extract)
- 2 teaspoons powdered sugar
Enjoy!
No comments:
Post a Comment